Cable & Pipe Builder
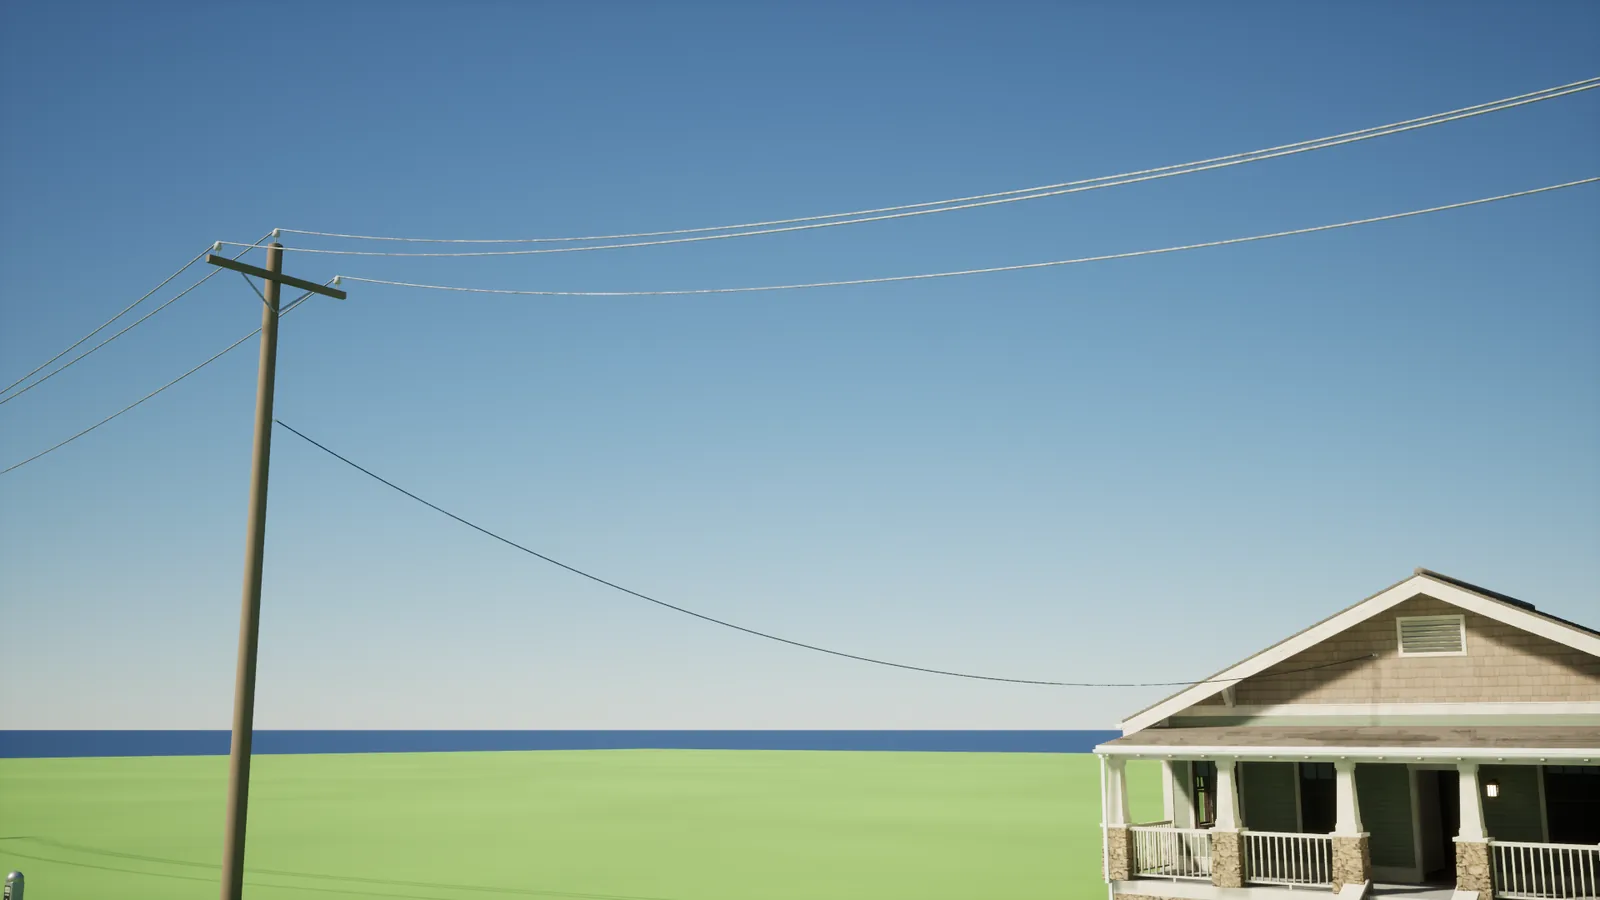
Draw a spline and get finished cables and pipes: power lines and rope that hang a true catenary, pipe runs with bends, fittings and supports that find the ceiling, floor or wall, and hoses that keep the curve you drew. For Unreal Engine 5.6, 5.7 and 5.8.
1. Install and enable
The plugin works in Unreal Engine 5.6, 5.7 and 5.8 and needs no other plugins.
From Fab:
- In the Epic Games Launcher, open Fab Library, find Exaro Cable & Pipe Builder and click Install to Engine for your engine version.
- Open your project. Go to Edit → Plugins, type
Cablein the search box and tick Exaro Cable & Pipe Builder. - Click Restart Now.
From the Exaro store: the download is one zip with the plugin folder, a Binaries for UE 5.6, 5.7 and 5.8 folder, and INSTALL.txt.
- Copy the
ExaroCablefolder into your project'sPluginsfolder (createPluginsnext to your.uprojectfile if it is not there). - Open the
Binaries for UE 5.xfolder that matches your engine and copy theBinariesfolder inside it intoPlugins/ExaroCable/. - Open the project. If Unreal asks, enable the plugin and restart.
On Windows you need no compiler. On Mac or Linux, Unreal builds the plugin from its source when the project opens. The plugin has two modules: ExaroCable (Runtime) and ExaroCableEditor (Editor).
To see every style at once, open the demo level: in the Content Browser, click Settings → Show Plugin Content, then open /ExaroCable/Demo/L_ExaroCable_Demo.
2. Place a run
- Open Window → Place Actors if the panel is not already showing.
- Click Exaro in the panel's left column. Every Exaro plugin you have installed lists its tools in this one tab.
- Pick a style (Power Line, Pipe Rack, Garden Hose and so on), drag it into the viewport and drop it.
You can also drag a style asset straight from the Content Browser: the files named DA_… in /ExaroCable/Styles. Dropping one places a run that uses it.
3. Shape it with the spline
With the run selected:
- Move a point: click a spline point and drag the move gizmo.
- Add a point: select a point, hold Alt and drag it. A new point follows your mouse.
- Remove a point: select it and press Delete.
The run rebuilds as you drag. What the points mean depends on the style's kind, below.
4. Three kinds of run
| Kind | How it travels | Styles |
|---|---|---|
| Hanging | Each span between two points hangs under its own weight as a true catenary, set by Slack. | Power line, overhead cable, cable loom, rope |
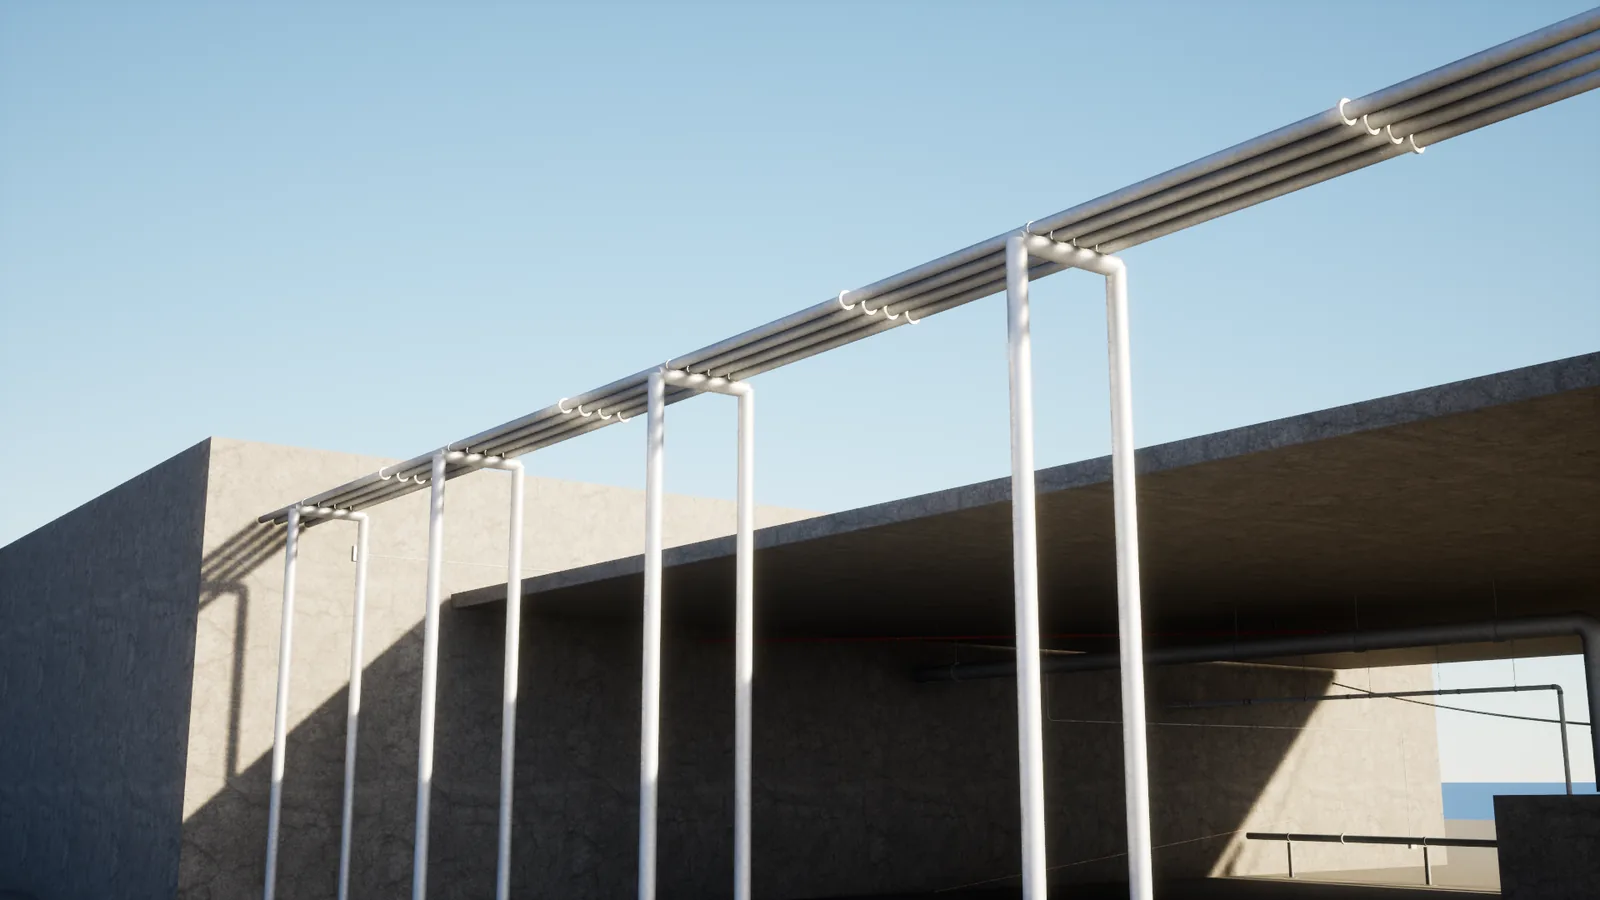
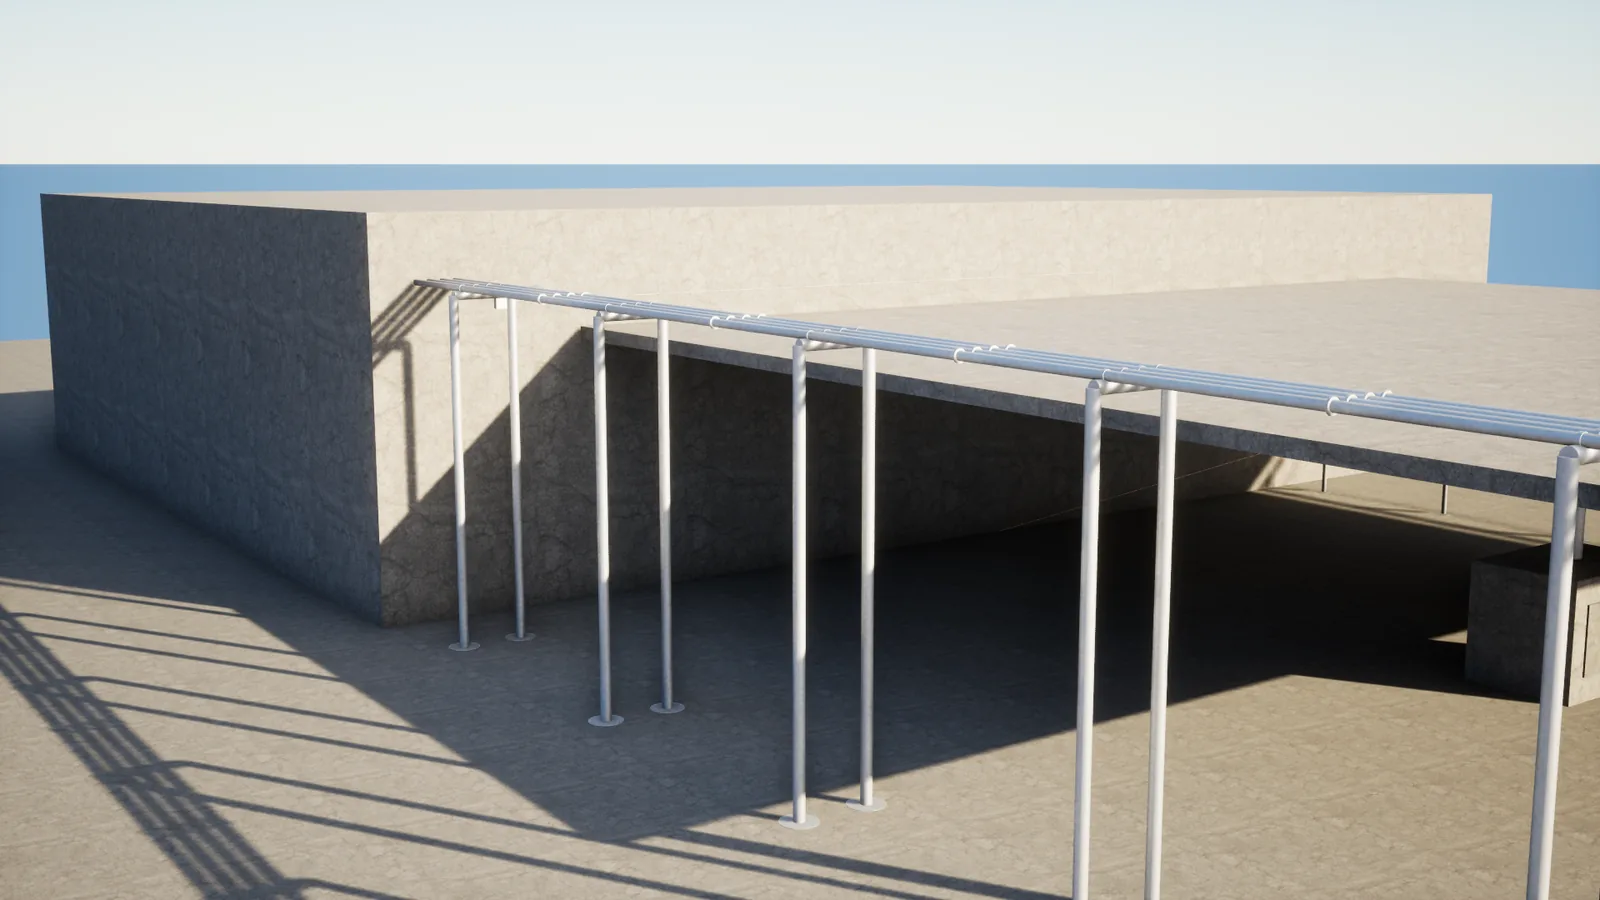
| Rigid | Straight between the points, with circular bends at them, plus couplings, collars, flanges and supports. | Industrial pipe, pipe rack, copper, PVC drain, conduit, sprinkler, round duct |
| Follow | Keeps the curve you drew. | Garden hose, cable on the ground |
Hanging: slack and sag
Slack is how much longer each span is than the straight line between its points: 0.01 is 1 %, which sags about 1.8 m on a 30 m span. Each style has its own Slack; to change it for one run, tick the box next to Slack on the actor and set a value. Seed varies the sag between strands, so parallel wires never hang identically.
Hanging styles sway in the wind. The sway is built into the plugin's master material.
Rigid: bends, fittings and supports
On a rigid run the spline points are the corners. BendRadius rounds each one into a circular bend. Depending on the style you get coupling collars along the straight lengths, collars at the bends, flanges or caps on the ends, and sprinkler heads dropping from the run.
Supports place themselves. A style with hangers, stands or wall brackets puts one wherever a ceiling, floor or wall is within SupportReach of the run. Where nothing is in reach, the support is left out.
5. Poles, sockets and wall anchors
Any static mesh with sockets named Wire… or Cable… (for example Wire_0, Wire_1) is an attachment point. Drop a hanging run's points onto it and the strands snap on, one strand per socket. They stay attached when the level reloads and when you move the pole.
A utility pole is included: SM_UtilityPole, with three Wire sockets on its crossarm. To make your own attachment points, add sockets with those names to any mesh, in your own project or from other packs you own.
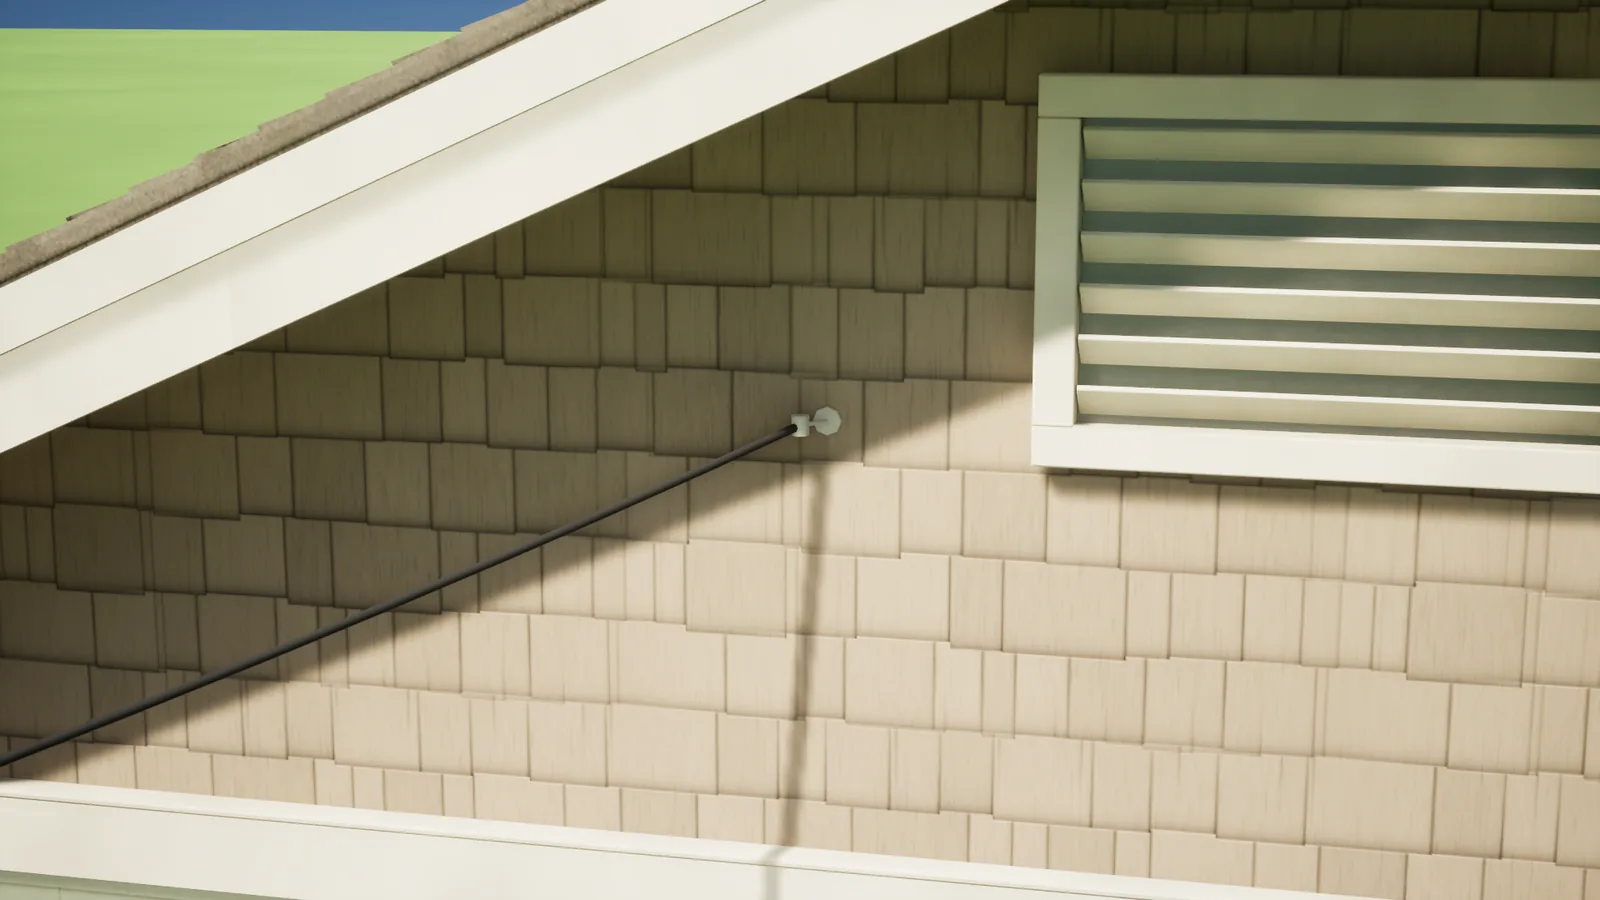
A free end that meets a wall gets a wall anchor, so a cable never just stops against a surface.
6. The styles
Thirteen style assets ship in /ExaroCable/Styles:
| Kind | Style assets |
|---|---|
| Hanging | DA_Cable_PowerLine, DA_Cable_Overhead, DA_Cable_Loom, DA_Cable_Rope |
| Follow | DA_Cable_GardenHose, DA_Cable_GroundCable |
| Rigid | DA_Pipe_Industrial, DA_Pipe_Rack, DA_Pipe_Copper, DA_Pipe_PVCDrain, DA_Pipe_Conduit, DA_Pipe_Sprinkler, DA_Pipe_Duct |
Make your own style
A style is a data asset. Duplicate one of ours (right-click → Duplicate), move it into your own folder and change what you need:
- Radius, Sides and Material: the tube itself.
- Strands and Layout: how many strands run together and how they sit (in a row, stacked, or packed in a bundle).
- Fittings: couplings, collars, end style, drops and the fitting material.
- Supports: hanger, stand or wall bracket, how often, and how far each one reaches.
Every mesh and material in a style is replaceable. Give the style a Style Name and it appears in Place Actors → Exaro.
Bake when you are done
Select the run and click Bake in its Details panel. The run is replaced by one Nanite static mesh with collision, with any point meshes merged in. The mesh is saved under /Game/ExaroBaked/Cables. Ctrl+Z brings the run back.
Troubleshooting
The strands don't snap to my pole
The mesh needs sockets whose names start with Wire or Cable, and the spline point has to be dropped close to them.
A pipe has no supports
Supports appear only where a ceiling, floor or wall is within the style's SupportReach, and that surface needs collision. Raise SupportReach in your own copy of the style, or move the run closer.
The Exaro tab is missing or empty
Check the plugin is enabled in Edit → Plugins. On a short Place Actors panel, look under More.
I can't see the plugin's content
In the Content Browser, open Settings and tick Show Plugin Content.
Need help?
Go to exarostudio.com/support with your engine version and a screenshot.